PennO365 accounts can be configured on mobile devices running the Android operating system using Microsoft Outlook for Android (recommended) or Androids's built-in Email and Calendar apps.
To complete this setup, you will need:
- Your PennO365 password
(If you do not recall your email password, go to the PennO365 Password Change page to reset it. Allow up to 3 minutes for this change to take effect.)- Your 2-Step Verification device
(If different from the setup device)
Microsoft Outlook for Android
If you previously used Android's built-in Email app on this device and have decided to switch to Outlook, please delete your existing PennO365 account configuration before proceeding with a new setup. No email will be lost in this process.
To configure your Android device for PennO365 email and calendar in the Outlook app:
- If you already have Microsoft Outlook for Android installed on your device, skip to Step 3. Otherwise, launch the Play Store.
- Download Microsoft Outlook from the Play Store
- Open Outlook
- If this is your first time opening the app, you should be prompted to Get Started. If not, go to Outlook Settings -> Add Account and select Add an Email Account.
- Enter your Email address as: yourpennkey@upenn.edu (NOTE: no "sas" or other school/dept prefix) then tap Continue
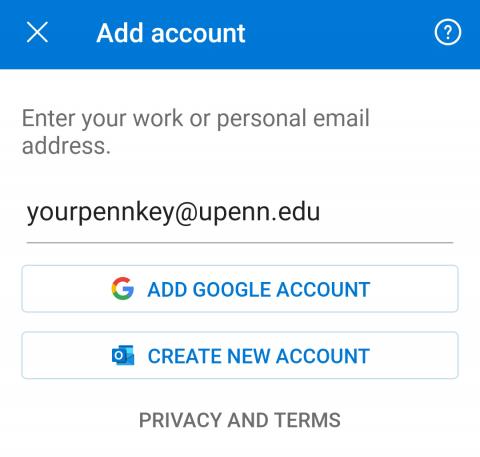
- Enter your PennO365 Password then tap Sign In
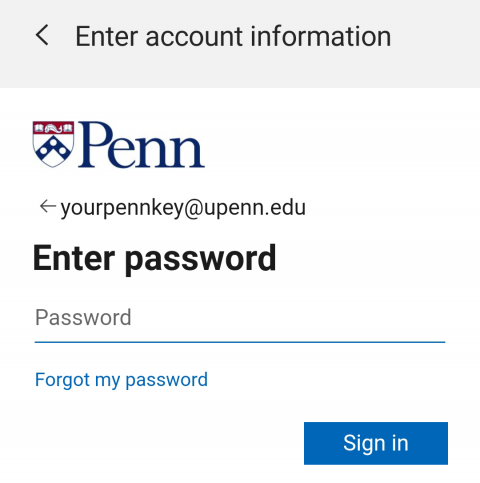
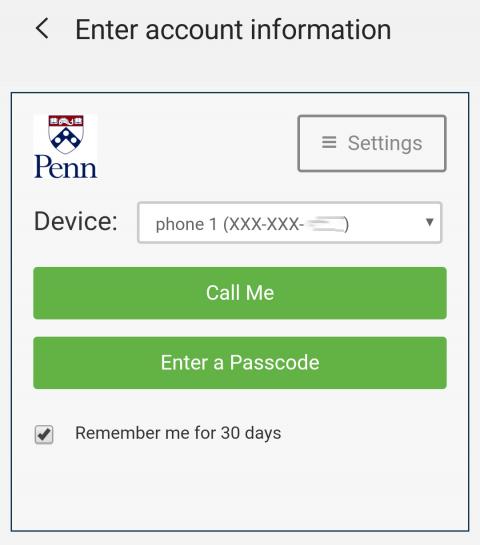
(If you do not recall your email password, cancel this setup and go to the PennO365 Password Change page to reset it. Allow up to 3 minutes for this change to take effect.) - You should be directed to the Penn Duo Security screen. Select your preferred method for two-step verification from the drop-down menu and check the Remember Me for 30 Days box before proceeding.
- Tap Activate twice to accept the security settings required for PennO365 access on mobile devices
- If prompted to add another account, tap Maybe Later. You may Skip the feature promotional screens.
- Allow some time for mail to sync fully with the app
Android Email and Calendar for PennO365
If you encounter problems receiving mail or syncing calendars on your mobile device, you may be directed by your LSP to delete your older PennO365 account settings and reconfigure. No email will be lost in this process. See the instructions at the bottom of this page for how to remove an existing configuration before proceeding with a new setup.
To configure PennO365 for Android Email and Calendar:
-
Launch the device's Email app
-
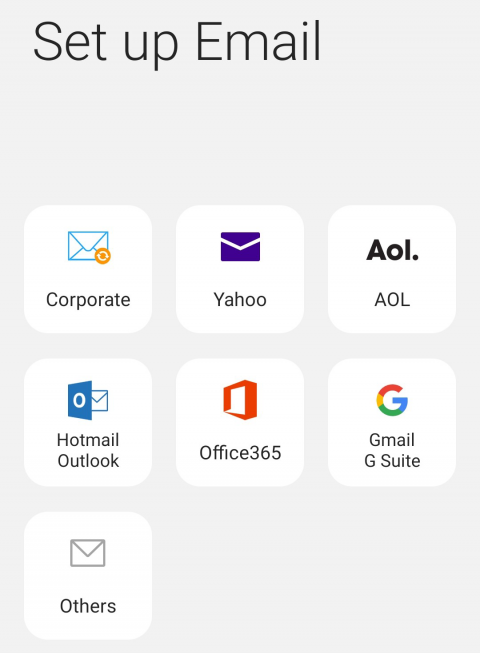
If this is your first time opening the app, you should be prompted to Set up Email. If not, tap the Menu
 icon-> Settings
  icon -> Add account.
 -
Select Office365
-
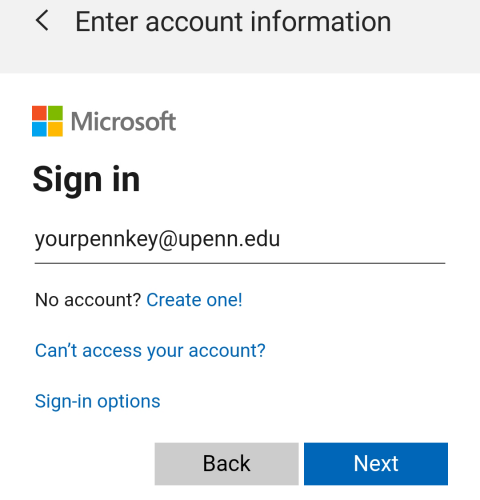
Enter your Email as: yourpennkey@upenn.edu (NOTE: no "sas" or other school/dept prefix) and tap Next
-
Enter your PennO365 password in the Penn window and tap Sign in to verify your account
(If you do not recall your email password, cancel this setup and go to the PennO365 Password Change page to reset it. Allow up to 3 minutes for this change to take effect.)
Your password should only be entered in the official Penn sign in window as pictured above. If you are prompted for your password (or any additional manual settings, such as server) in a different window during the configuration process, please cancel the setup and try again (make sure you are entering your email as yourpennkey@upenn.edu). If problems persist, please contact your LSP. -
You should be directed to the Penn Duo Security screen. Select your preferred method for two-step verification from the drop-down menu and check the Remember Me for 30 Days box before proceeding.
-
Accept the security settings for the app by tapping Apply
-
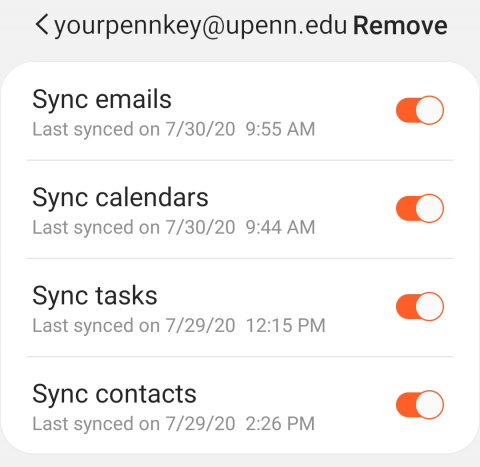
Once successfully verified, you will be prompted to choose your mail preferences and features you wish to sync. Tap Done to accept (these preferences can be changed later in Email Settings).
-
Tap Activate to accept the required security features for access to PennO365 on your mobile device.
-
Change the name of the account as it will be listed on the device (optional) or accept the default by tapping Done
Remove older PennO365 account settings for Android apps
-
Launch the device's Email app
-
Tap the email Menu
icon and then the Settings icon. - Select your PennO365 account under Accounts
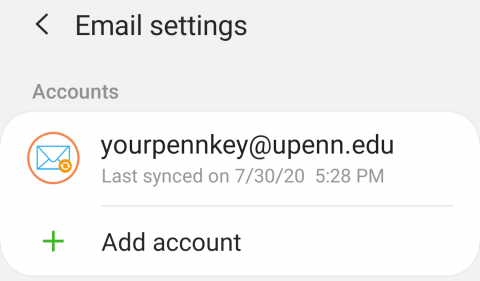
- Tap Remove
- If prompted whether you wish to remove additional information associated with this account (emails, contacts) from your device, select Remove (these will be restored when the account is reconfigured).

- Depending upon the volume of data, it may take several minutes for the deletion process to complete
- Once the account is removed, please proceed with re-adding the account above