Secure Share is a web-based application for secure file exchange available to Penn faculty and staff. It is especially useful for replacing office processes that involve the sending of files with private information through email.
You can find more information on Secure Share here: http://www.upenn.edu/computing/security/secure-share/.
Click here for directions on how to receive files via secure share.
Click here for directions on how to send files via secure share.
Receiving Files via Secure Share
1. When someone sends you a file through Secure Share, you will receive an email that looks like this:

Click the link in the email to go to the Secure Share website.
2. Login with your PennKey and password to continue.
![[Use PennKey password to log in]](/system/files/secureshare-1331.png)
3. Once you are at the Secure Share page, you’ll see a notification at the bottom like this:
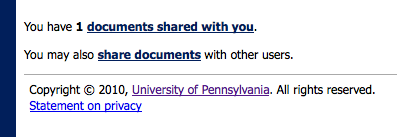
Click the “documents shared with you” link.
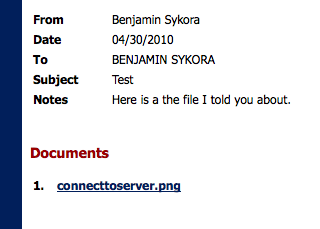
4. You’ll now see a list of the documents that have been shared with you. Click the link under Subject, in this case “Test”.

5. It will show you the details of this document, including a message from the sender. Click the link under Documents to open or save the file, here called “connecttoserver.png”.
Sending Files via Secure Share
If you need to send a document containing private information to another Penn faculty or staff member, Secure Share is the way to go. Also, if you received a document through Secure Share that you need to send back, make sure you reply through Secure Share.
1. Go to the Secure Share website at https://medley.isc-seo.upenn.edu/secureShare/jsp/fast.do and login with your PennKey.
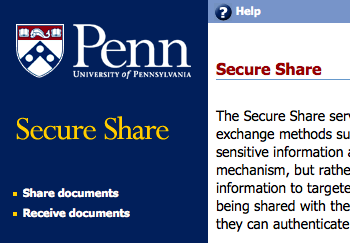
2. Once there, click “Share documents” at the top-left corner.
3. Here you will need to fill out a brief message to accompany the file(s). Think of these as though they were the subject and body of an email. Make sure the “Send notification” box is checked.
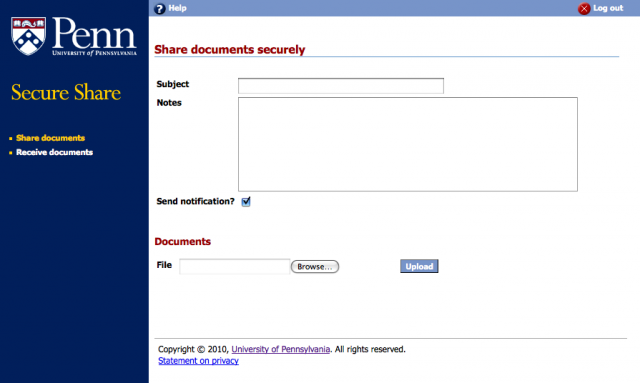
Click “Browse…” to bring up the File Upload window.
4. Here you can choose the file you’d like to share. Select your file and click “Open”.
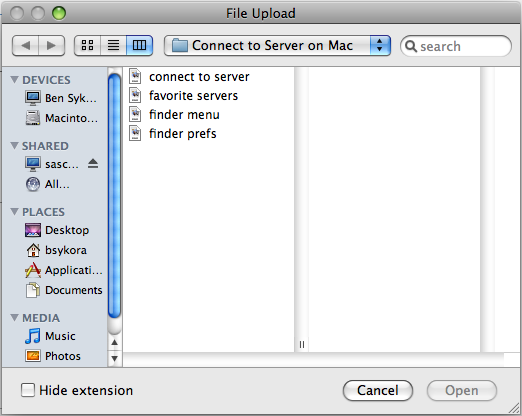
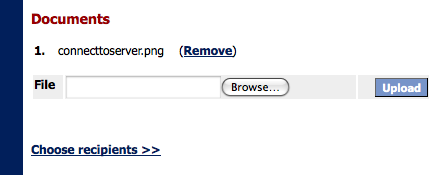
You’ll be taken back to the previous page where you need to click “Upload”.
5. The file will take time to upload, and once that is complete, you will see it in a list under “Documents”. To share more files, just continue to Browse, select and Open, and Upload file by file. If you accidentally upload the wrong file, click “(Remove)” next to that file, and it will be deleted from the list. When you are finished uploading files, click “Choose recipients >>”.
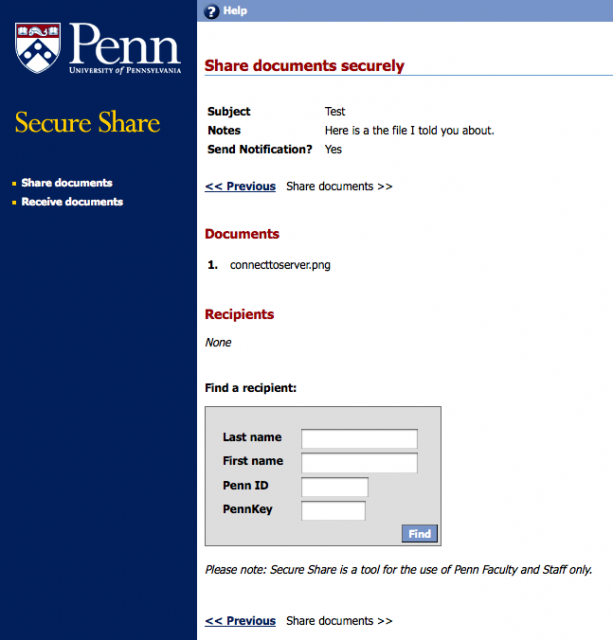
6. Next, use the “Find a recipient” tool to choose the Penn faculty and staff members you are sending the file to. Enter a person's information and click “Find”.
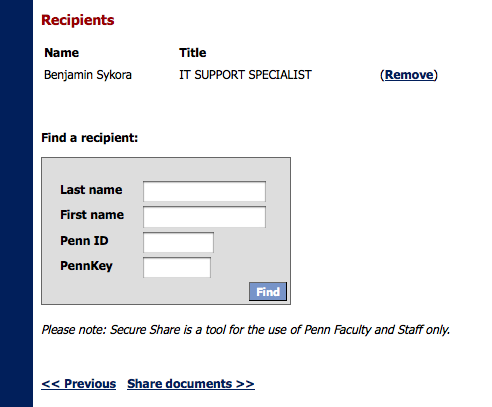
7. It will bring up a list of people that match those terms, and you can click “Select” next to the correct one. That person will be added to the Recipients list. You can continue adding recipients in the same manner, or if you need to, you can remove recipients using the “(Remove)” link next to their name. Once you are finished, click the “Share documents >>” link at the bottom.
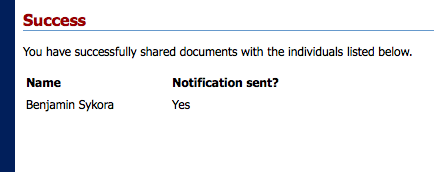
8. You will be taken to a Success page listing the individuals you sent the files to.


 ARTS & SCIENCES COMPUTING